

 |
| Progress! |
This past weekend I made a lot of good progress on my version of the 1780 – 1781 Polonaise-Sacque Jacket. I am always so very chuffed by how quickly sacque-back things go together…it feels like you’re making such progress! (Then come the fiddly bits, the sleeves, the shoulder straps…that final 20% that takes 80% of the time!)
On Saturday I applied the bodice front fashion fabric, the parts that will show beneath the flyaway front of the jacket. I also fit the bodice through the side back seams and pinched up the shoulder straps in front, stitching both areas but leaving the shoulder straps in back un-sewn for now so I could keep the lining flat for applying all the pleating.
 |
| Fitting the front and back lining pieces. |
 |
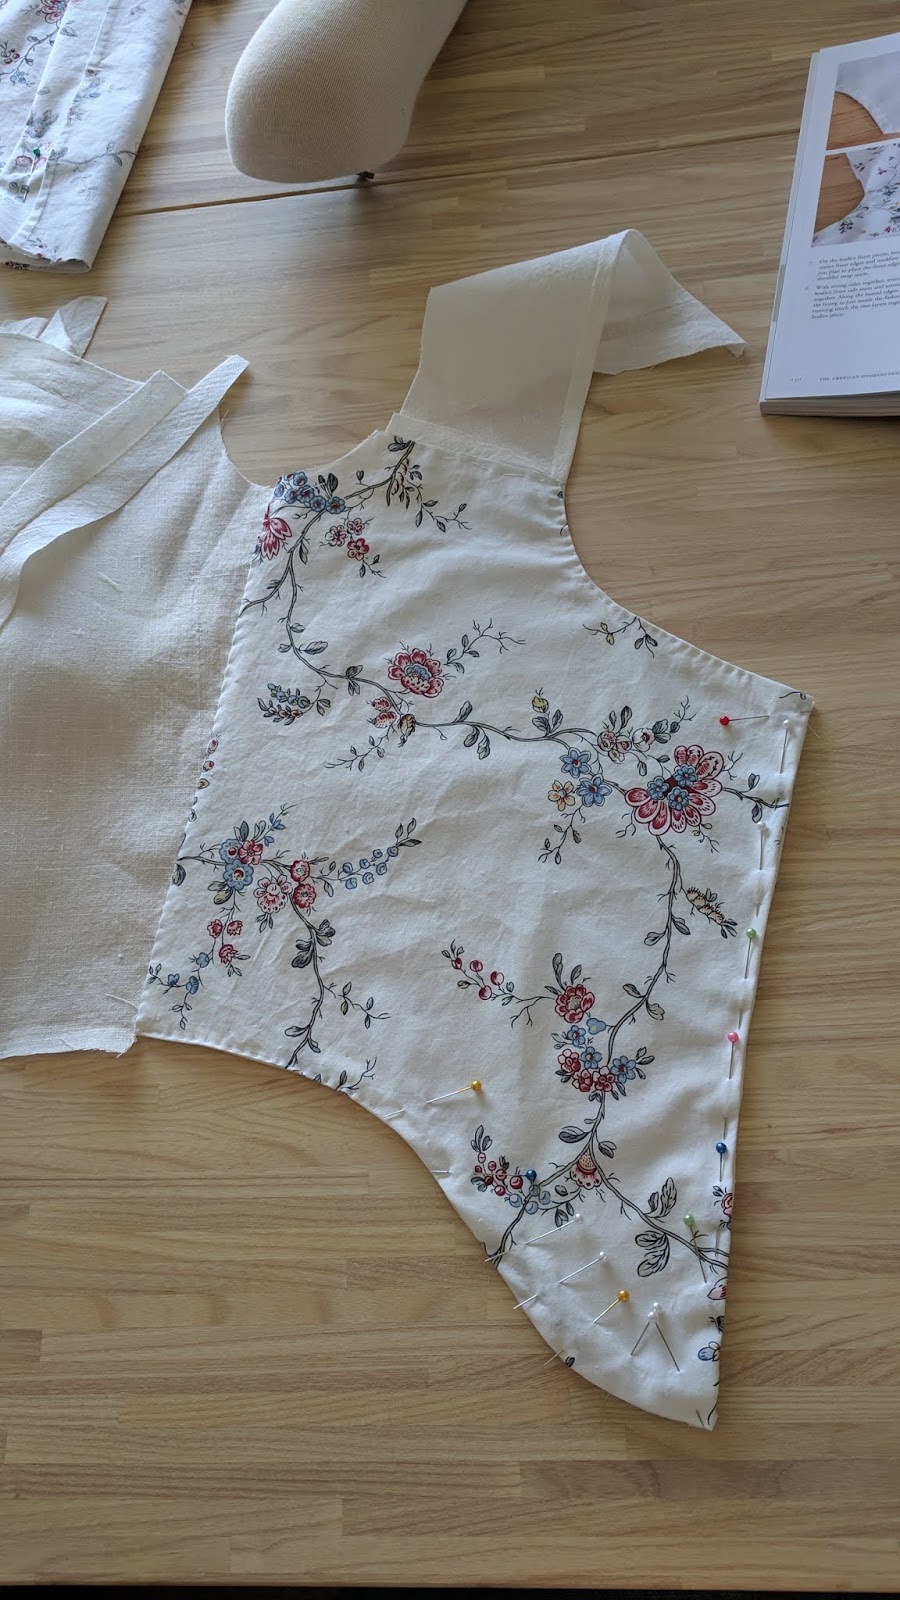
| Applying the fashion fabric to the front bodice lining. Turn in all the edges and stitch with a running stitch. |
The sacque back was easy – I just followed the pleating guide in The American Duchess Guide to 18th Century Dressmaking, pg. 97 (and yes, I totally reference our book every time I sew anything 18th c.).
 |
| Marking and pleating up both sides of the sack back. For jackets you probably don’t need nearly as much in the back as I put in this one but it does make for a very pretty back line. |
After reviewing the original jacket, I realize I put way way too much fabric in my pleated back. The original jacket’s back is quite narrow and what we might think is skimpy, but I believe it needed to be less full due to the rather thick fabric. By putting so much fabric in my sacque back I reduced the volume on the sides, so I didn’t have as much to pleat into the skirt…oh well.
 |
| You can see on the original jacket here that the back is quite narrow and doesn’t appear to have all that much fabric piled into it. The fabric is a rather robust textile, so it makes sense to reduce the bulk in the back that would inevitably result by stacking up 100 inches of fabric. I could’ve saved myself a lot of material if I’d realized this sooner. |
After the pleated back was applied to the back lining piece, I wrestled with trying to cut out the excess from between the side back seams. I thought I could just pleat it all up and then cut out the excess, but that didn’t work, so I sortof draped it and marked it and held my breath while I cut. What I *should* have done was apply the back, get it all stitched on, then worked the front polonaise piece (which is basically just a big rectangle of fabric) as its own thing. I tried to save time and effort by sewing all of the panels together first, but this made it all rather unweildy. Silly me.
The trickiest part has been the waistline cut in the back. This jacket has the excess skirt knife pleated towards center back down beneath the pleats, like an English gown. This is created by slicing along the waistline towards center back, turning under the waistline edge, then pleating the fabric of the skirt in to match. That makes almost no sense in words, but if you’ve ever made an English gown, you’ve done this PITA operation.
 |
| Beneath the pleats on the back – you can see the waist cut where the excess have been knife peated towards CB. Tricksy tricksy tricksy. |
Unfortunately I cut my waistline slash a *little* too high, so the jacket is slightly short-waisted in back (argh!). I’m wearing this jacket with a quilted petticoat so it’s not the end of the word but I would’ve like it to be a little better fitted through there.
 |
| Still mostly pins and basting, but the jacket is really taking shape. The pleated skirt of the jacket is working, even if it’s not as full and graceful as the original jacket – that’s because I put much more material in the sacque pleats and ended up with not a lot left for the skirt pleats! |
I still have the other half of the fiddly skirt to wrangle, and I’ve been pinning and re-pinning the polonaise front, but in general I think the majority of the jacket is almost there. There is a lot to stitch down, but I’m feeling pleased with it, even if it’s more just my interpretation of the original jacket and not a replica.
 |
| An idea of the front. I always have a lot of trouble “letting go” with polonaise fronts – I want them everything to fit smoothly and perfectly and with something like this it’s just not supposed to. That flyaway front is supposed to hang open loosely…that was the point! It’s shaped by a large, curving pleat near the side back seam and a large fold at the front. |
Next? Sleeves and those fascinating cuffs!

